How to Use This Level Devil Walkthrough
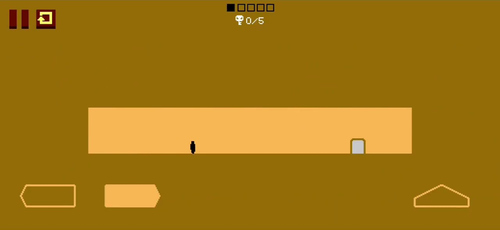
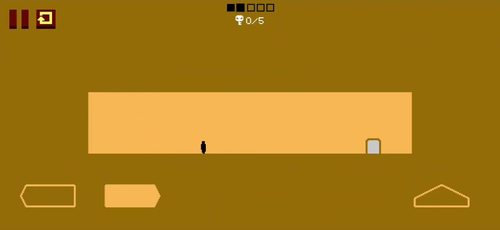
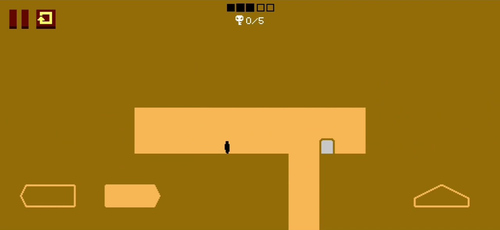
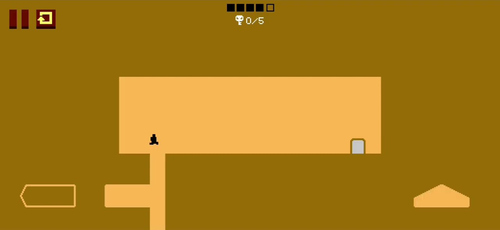
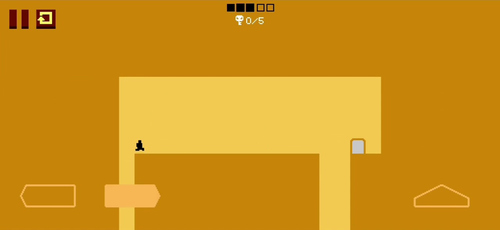
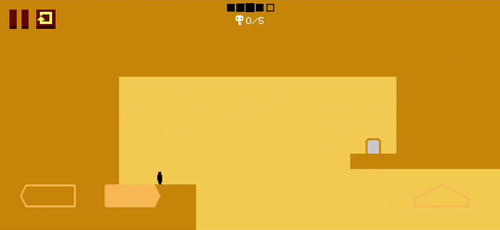
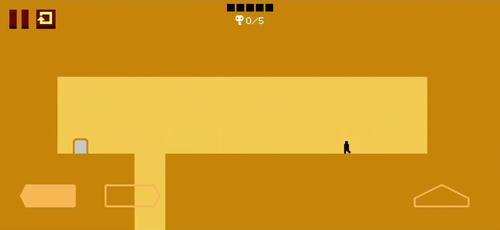
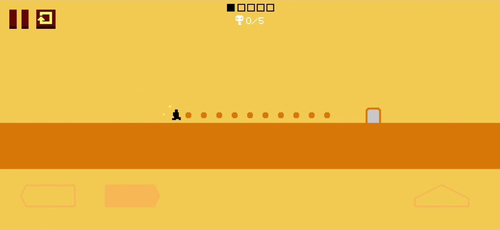
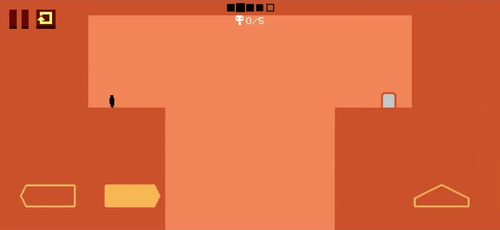
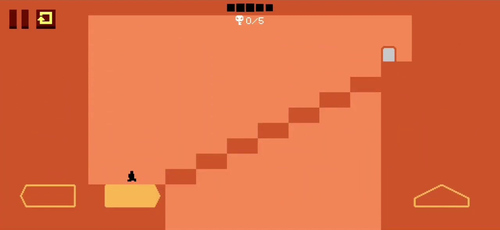
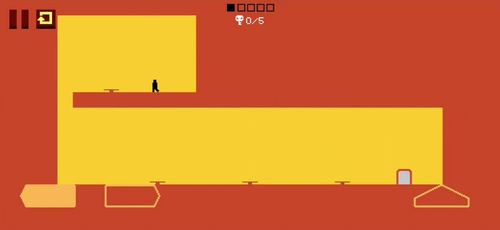
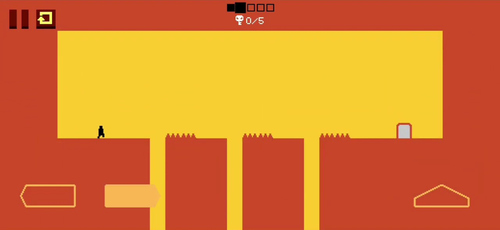
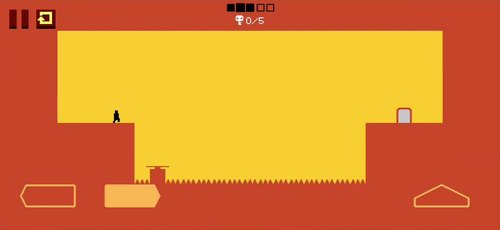
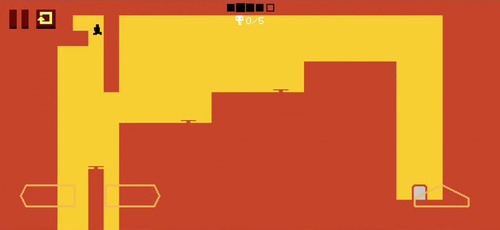
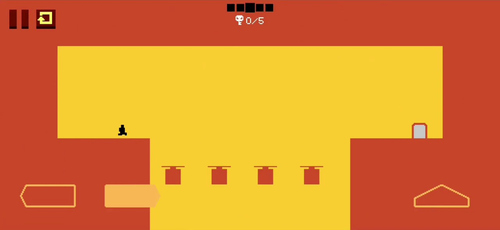
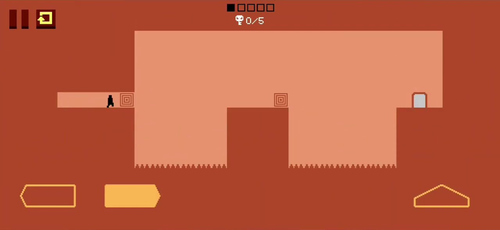
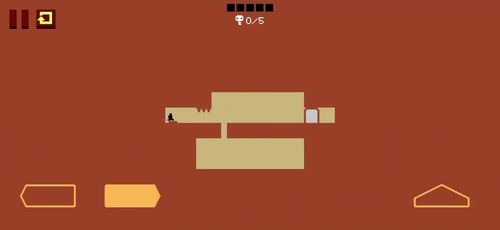
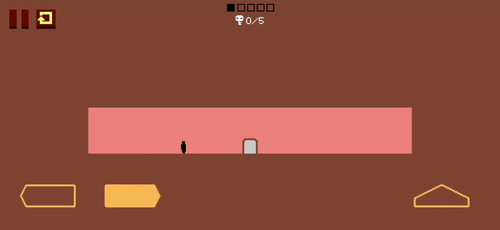
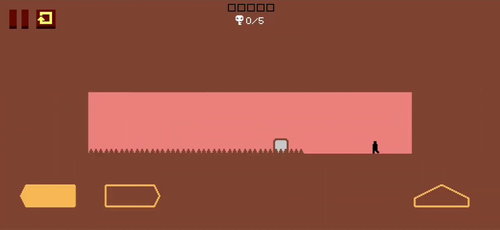
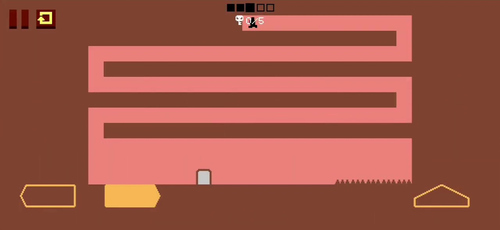
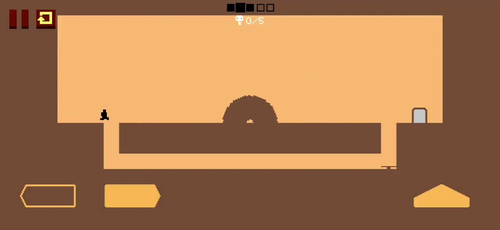
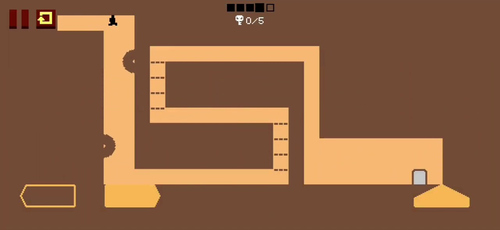
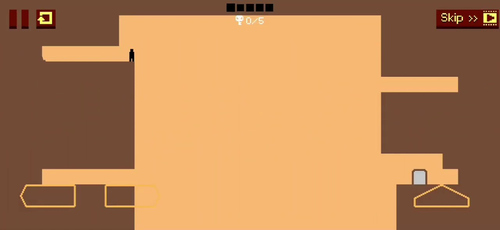
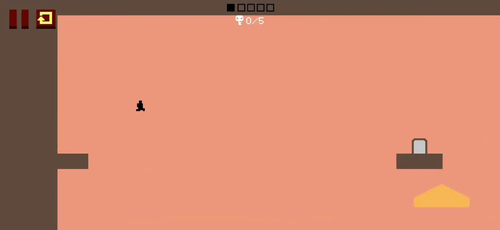
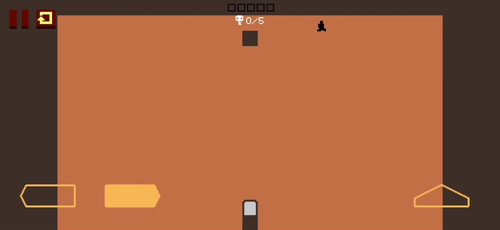
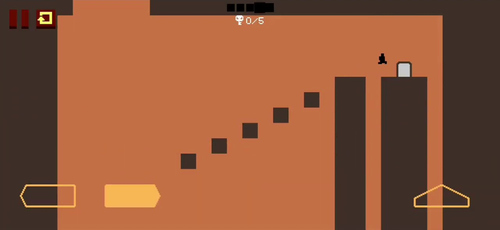
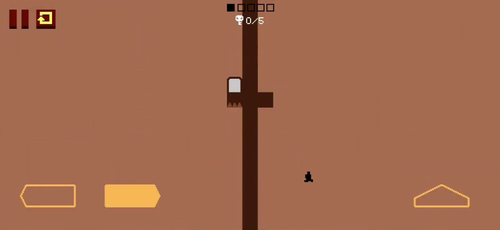
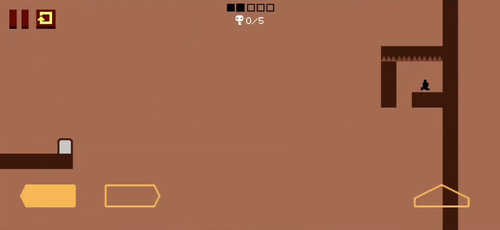
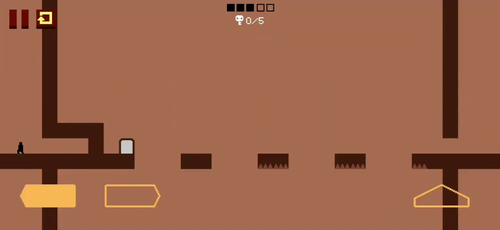
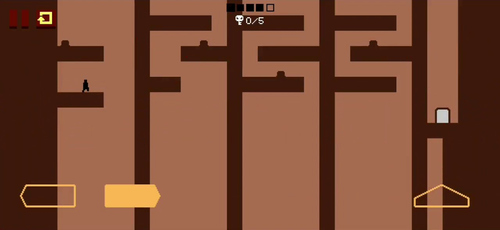
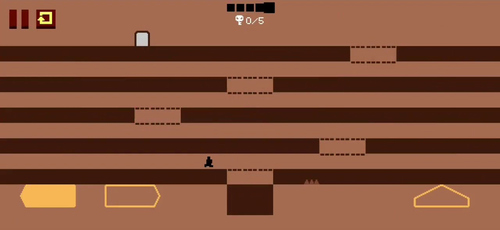
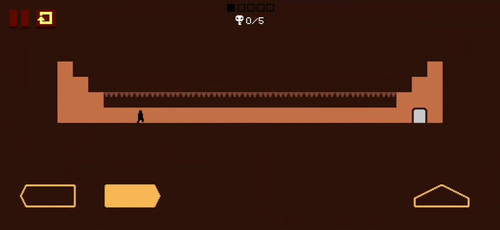
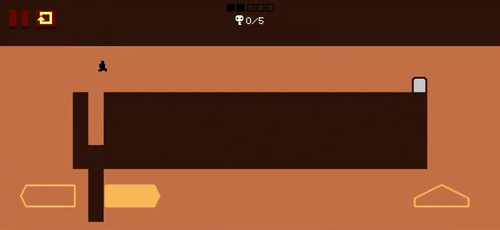
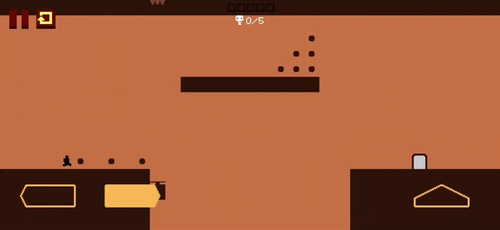
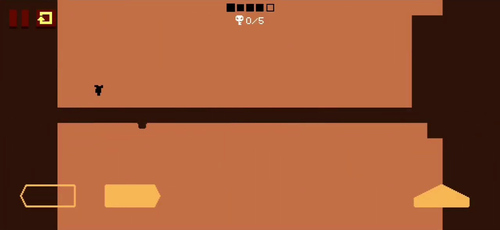
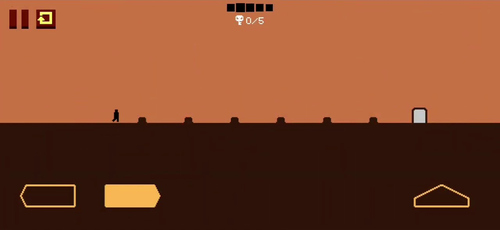
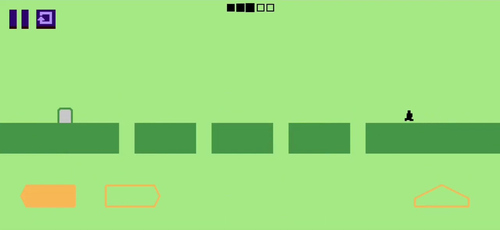
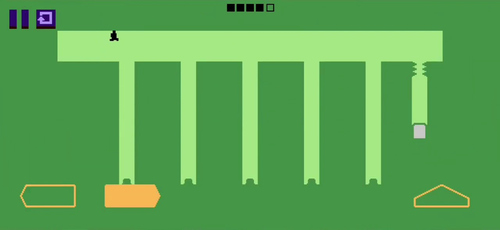
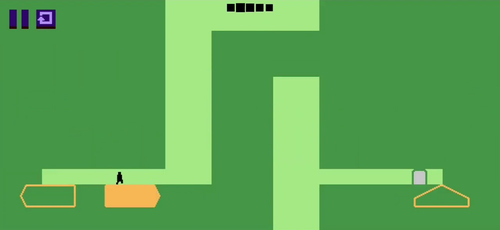
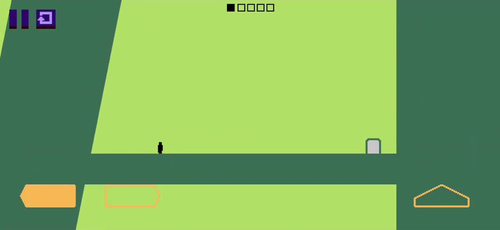
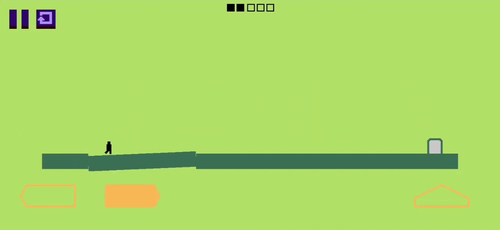
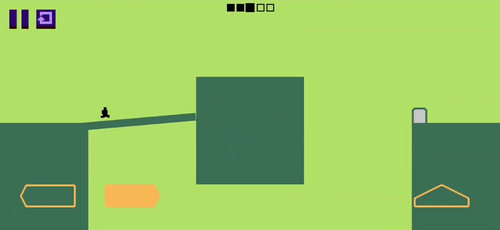
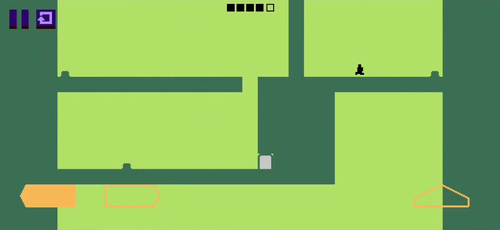
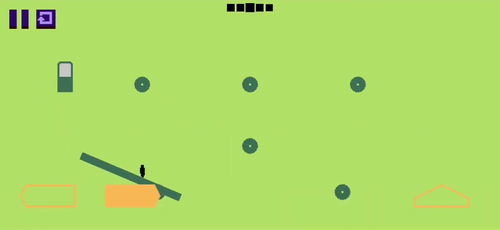
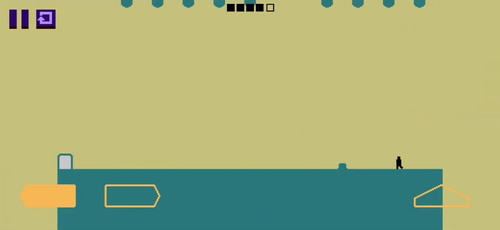
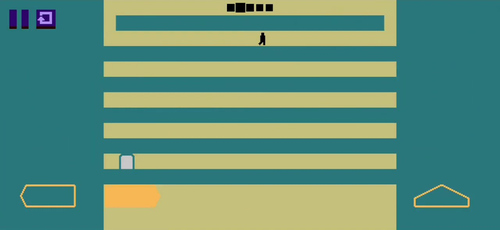
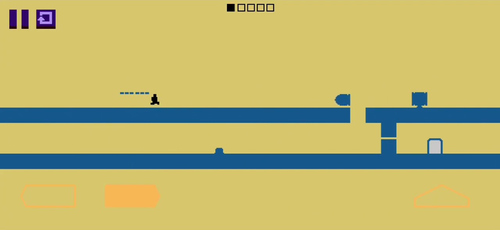
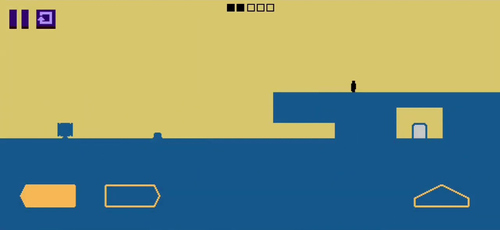
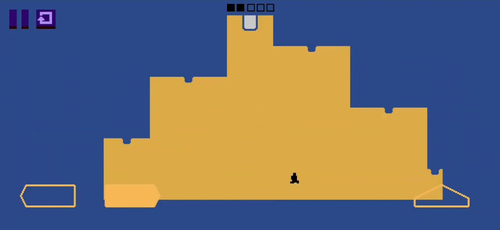
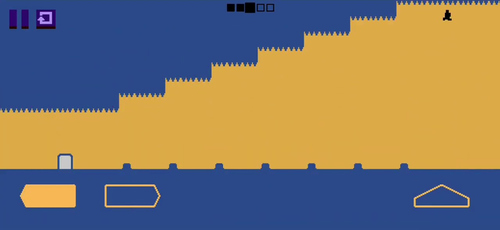
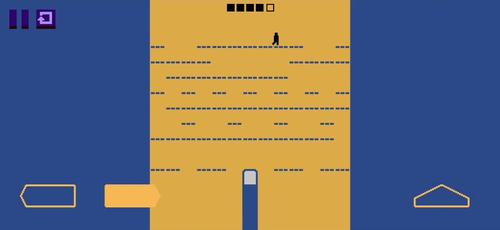
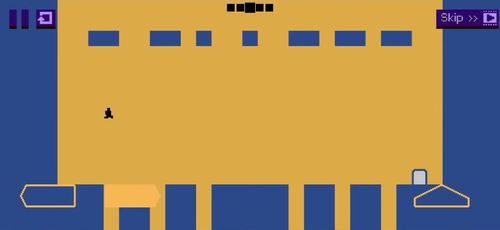
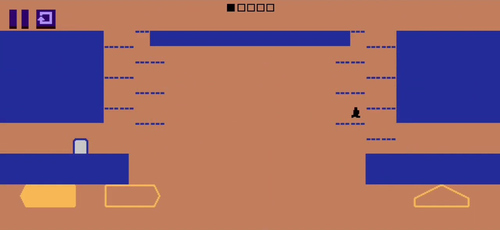
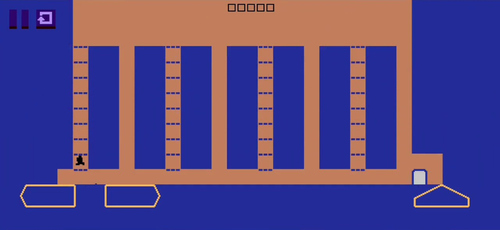
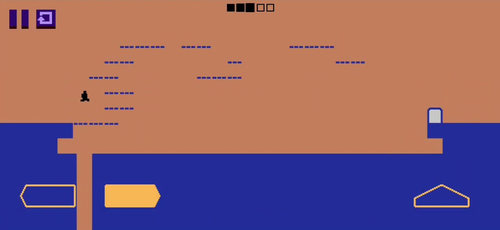
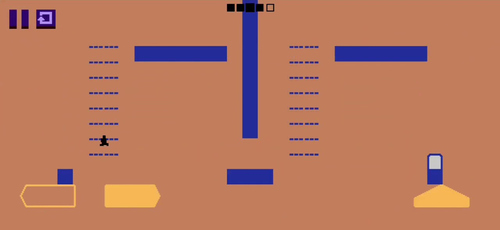
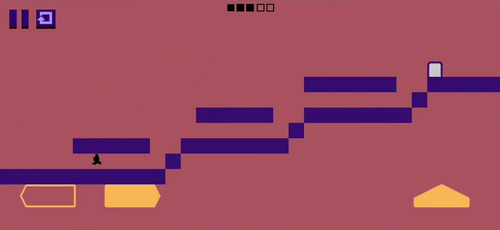
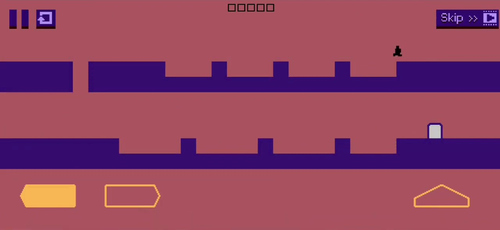
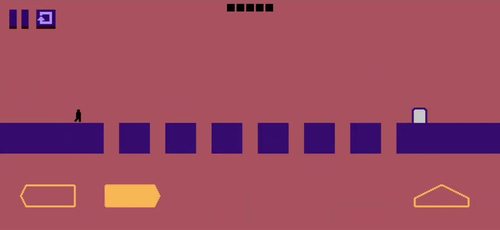
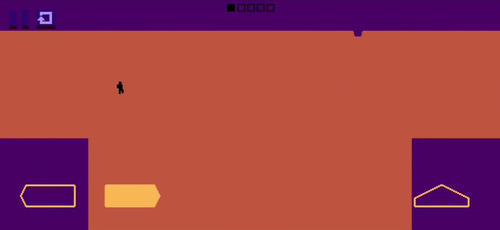
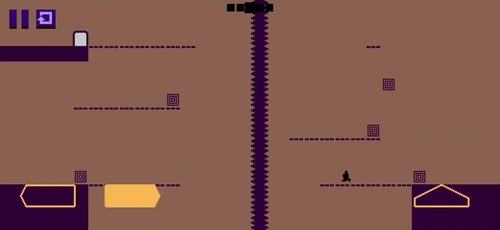
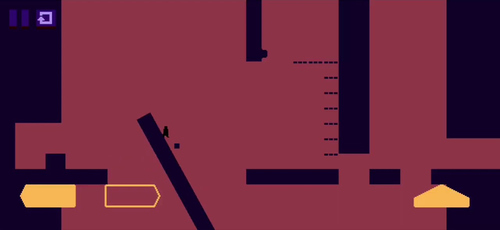
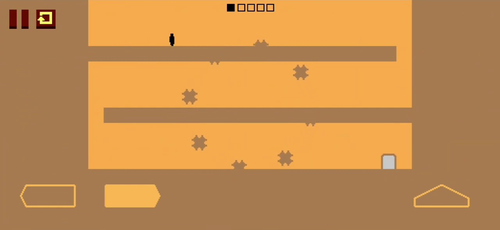
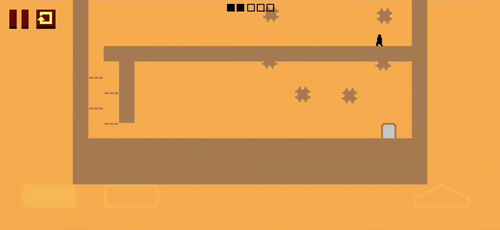
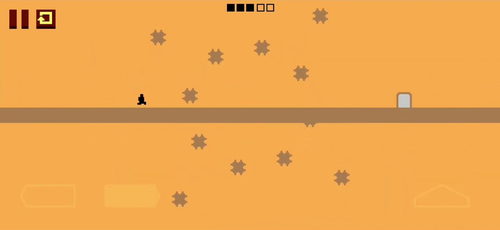
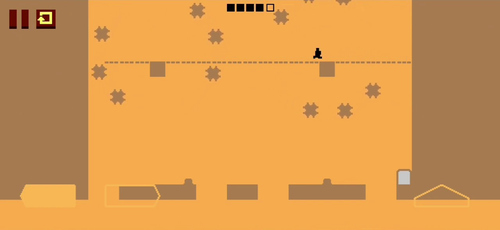
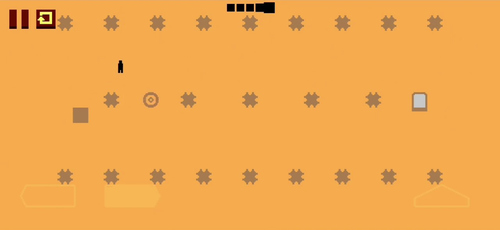
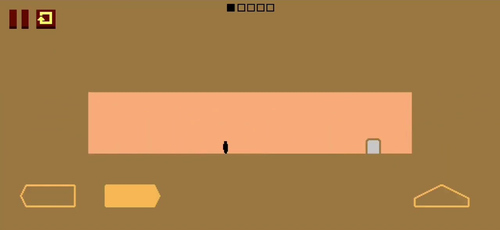
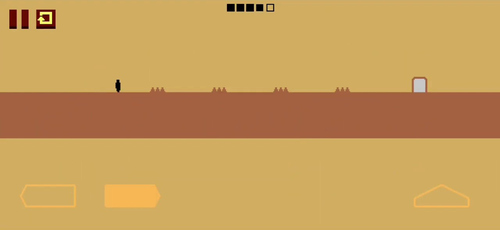
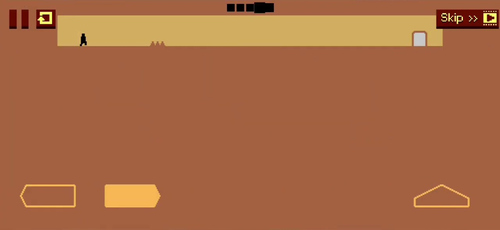
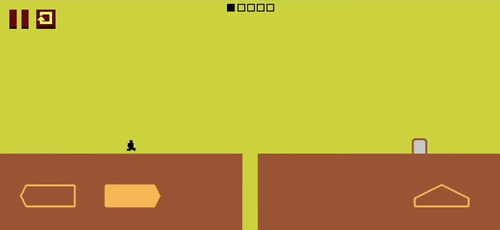
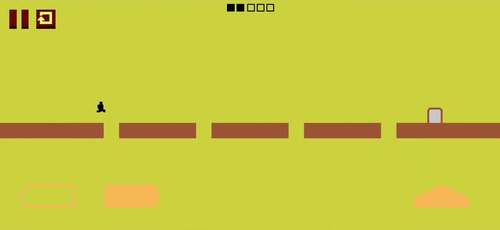
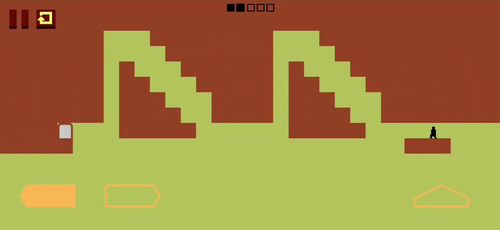
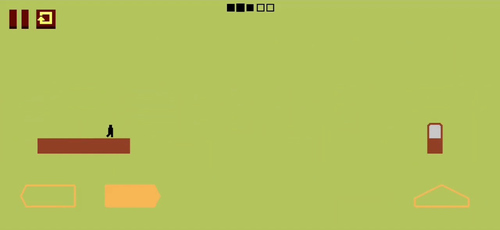
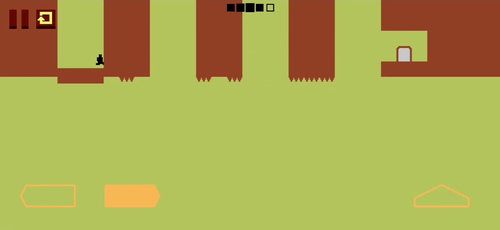
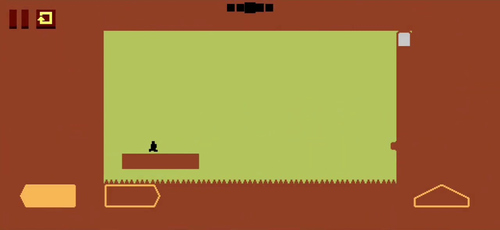
Each level expands into a sequence of screenshots. Start with step 1, locate the character and exit, then compare the floor and ceiling before moving to the next image. The screenshots preserve the complete chapter structure and do not remove the intermediate trap positions.
Spoiler warning: The images reveal trap layouts, safe routes and key locations. Open only the level you want help with if you prefer to discover the rest yourself.
Level Devil Chapter 1 Walkthrough
Follow the first chapter from its opening floor traps through moving platforms, hidden spikes and the later exit setups. Open a level and compare each image in order before repeating the route in the game.
LEVELChapter 1 Level 1
5 STEP IMAGES+
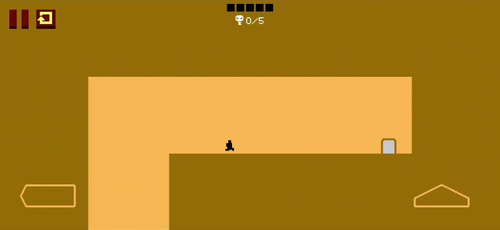
LEVELChapter 1 Level 2
5 STEP IMAGES+
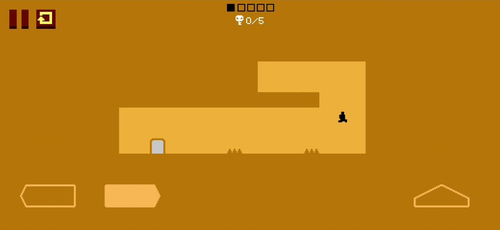
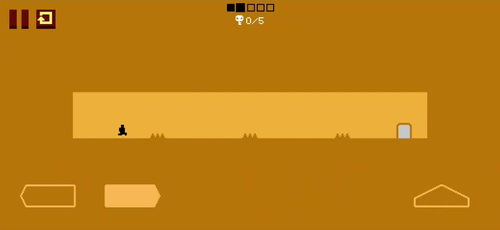
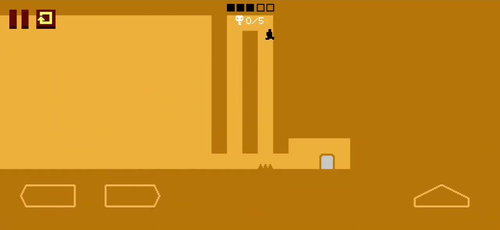
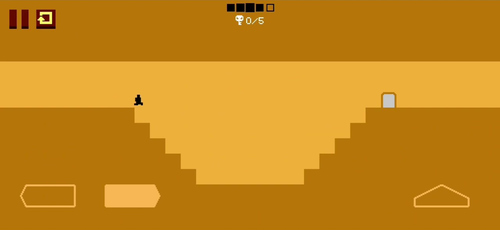
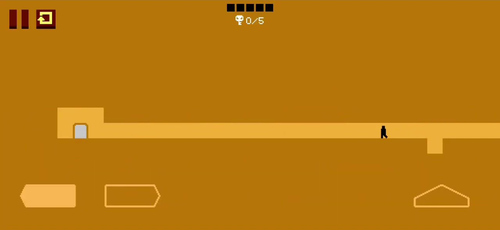
LEVELChapter 1 Level 3
5 STEP IMAGES+
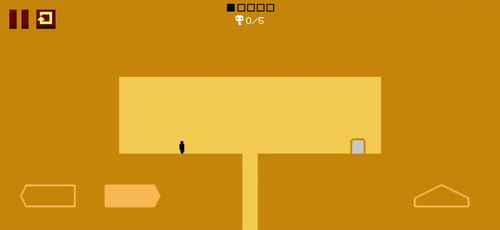
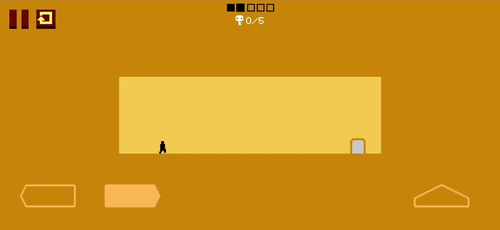
LEVELChapter 1 Level 4
5 STEP IMAGES+
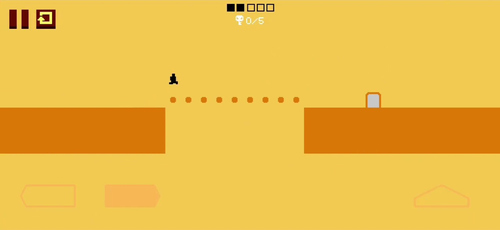
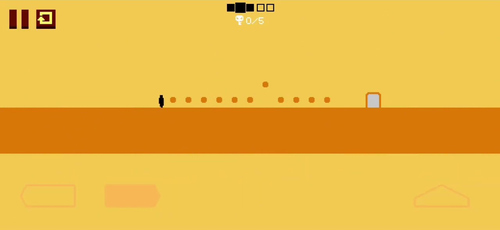
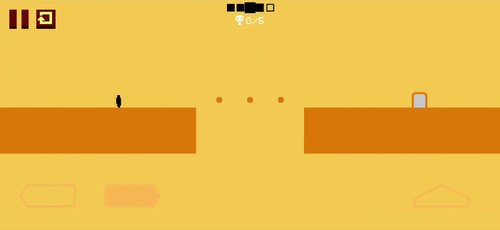
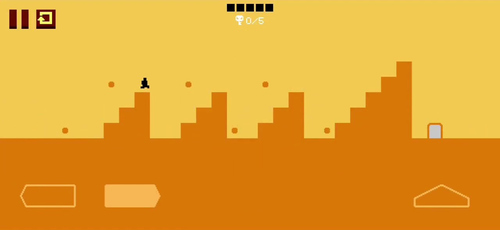
LEVELChapter 1 Level 5
5 STEP IMAGES+
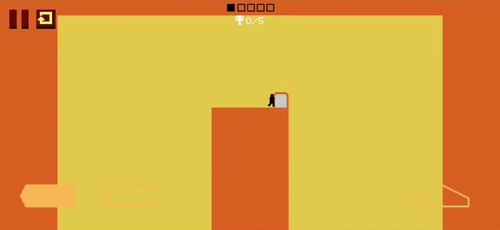
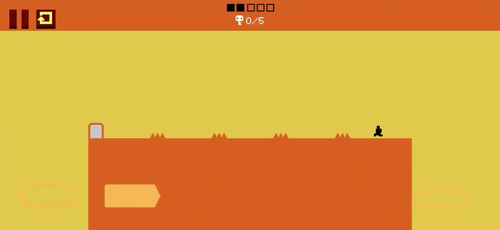
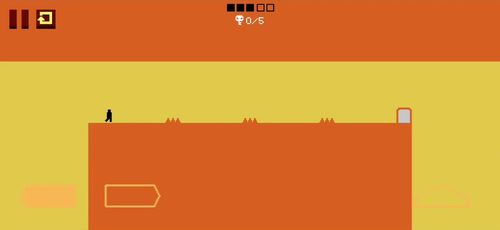
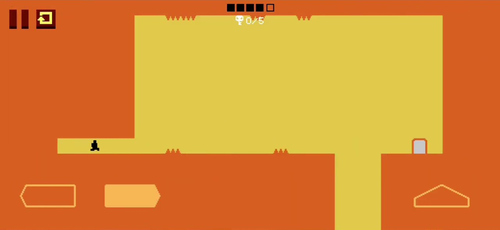
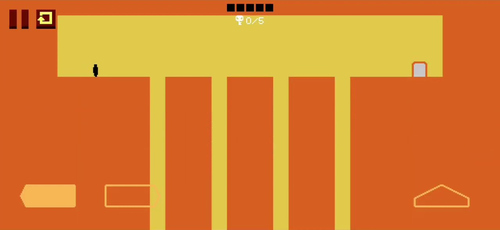
LEVELChapter 1 Level 6
5 STEP IMAGES+
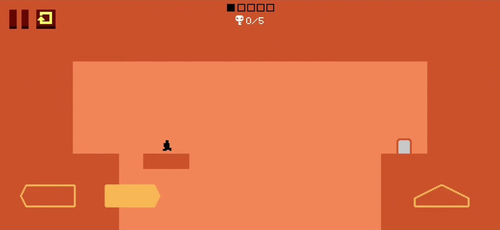
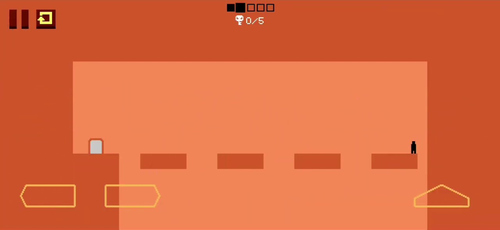
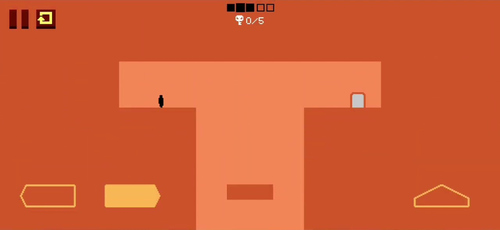
LEVELChapter 1 Level 7
5 STEP IMAGES+
LEVELChapter 1 Level 8
5 STEP IMAGES+
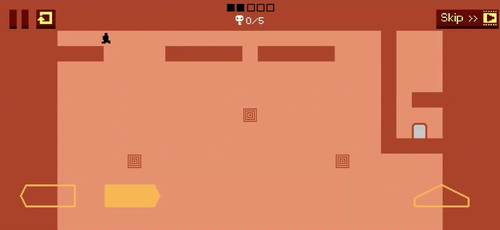
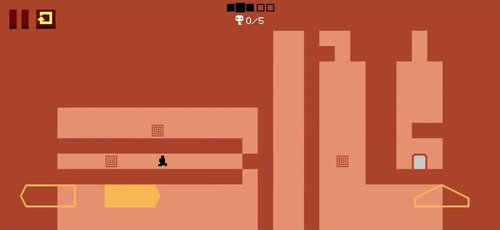
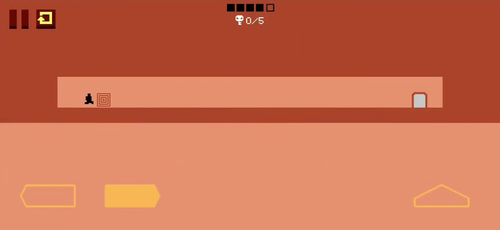
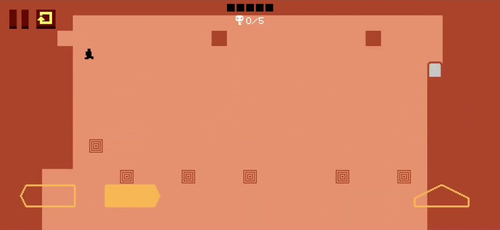
LEVELChapter 1 Level 9
5 STEP IMAGES+
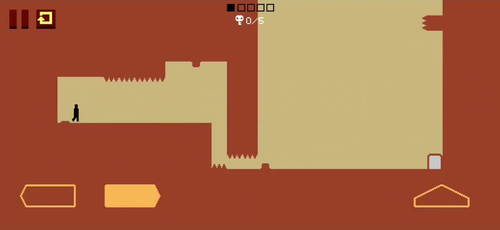
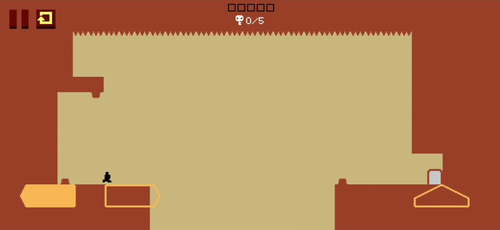
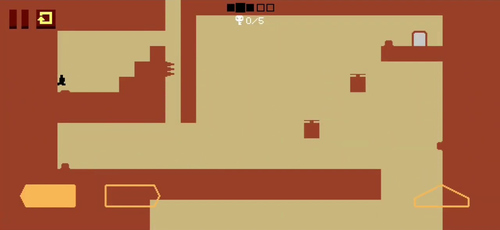
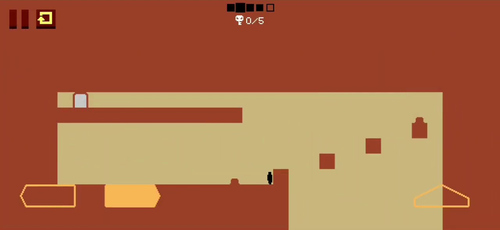
LEVELChapter 1 Level 10
5 STEP IMAGES+
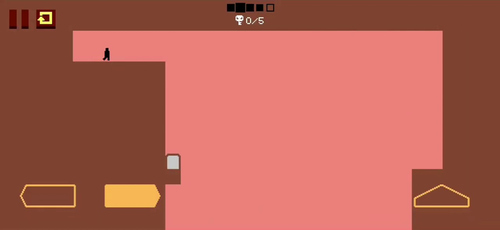
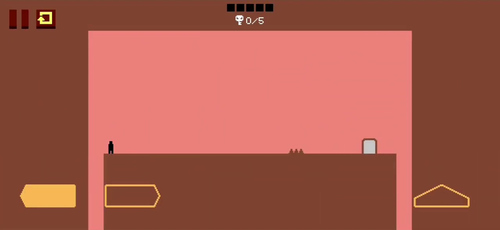
LEVELChapter 1 Level 11
5 STEP IMAGES+
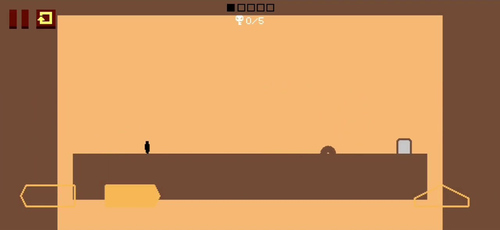
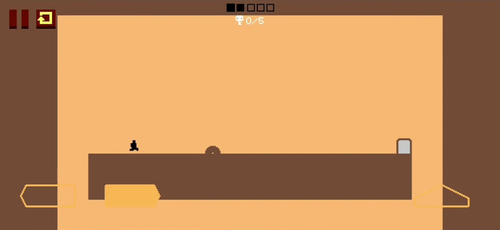
LEVELChapter 1 Level 12
5 STEP IMAGES+
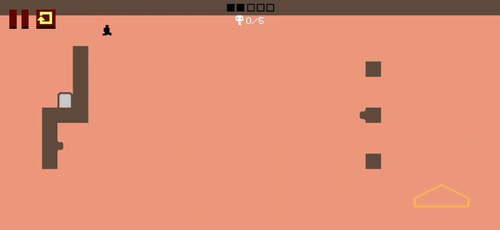
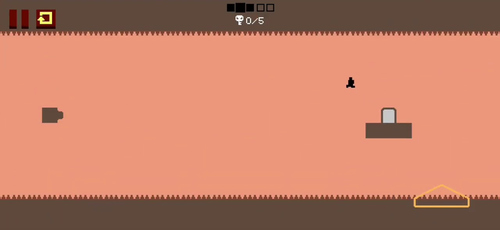
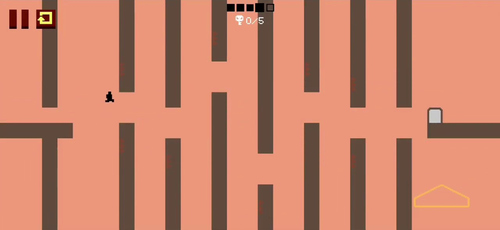
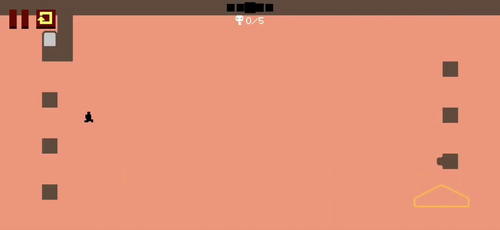
LEVELChapter 1 Level 13
5 STEP IMAGES+
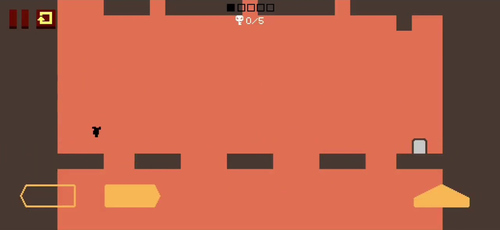
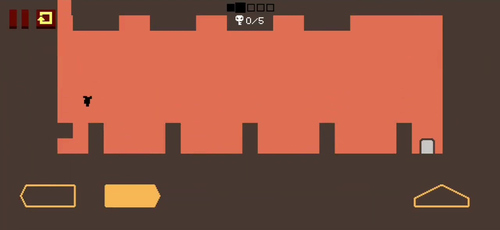
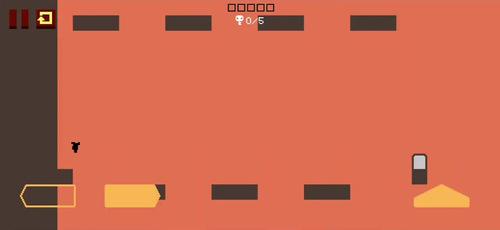
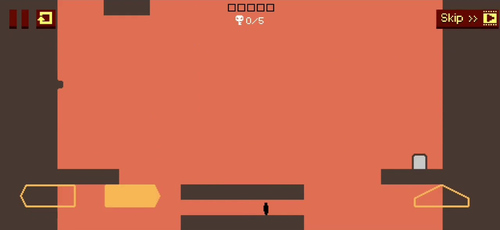
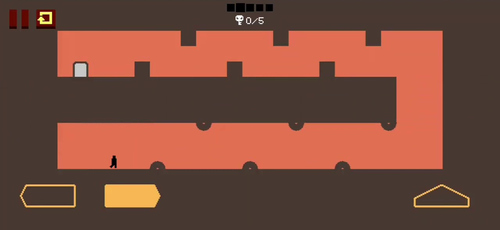
LEVELChapter 1 Level 14
5 STEP IMAGES+
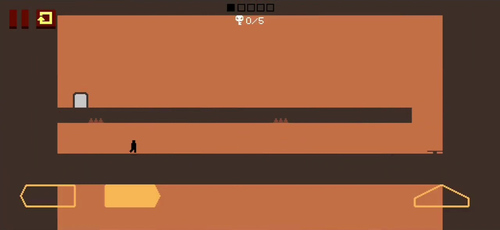
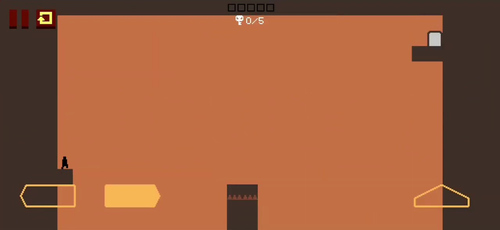
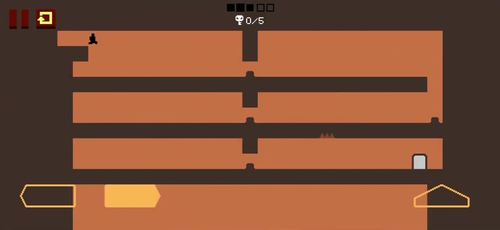
LEVELChapter 1 Level 15
5 STEP IMAGES+
LEVELChapter 1 Level 16
5 STEP IMAGES+
Level Devil Chapter 2 Walkthrough
Chapter 2 adds tighter platforms and more vertical movement. Use the image sequence to identify safe waiting points, trap triggers and the direction of the next jump.
LEVELChapter 2 Level 1
5 STEP IMAGES+
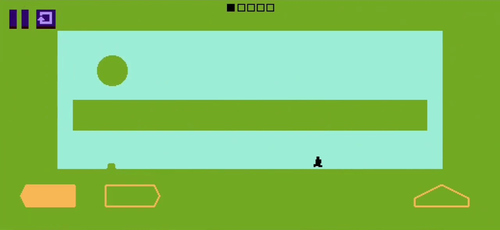
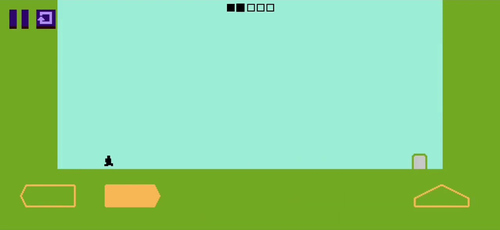
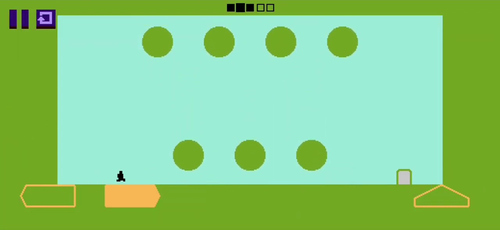
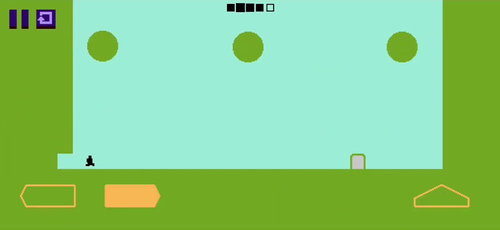
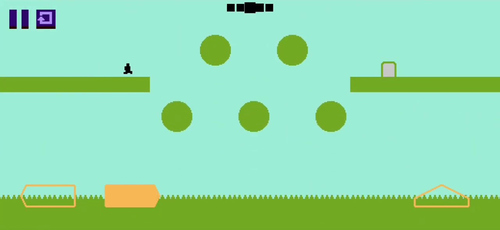
LEVELChapter 2 Level 2
5 STEP IMAGES+
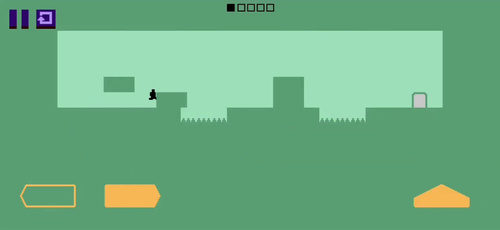
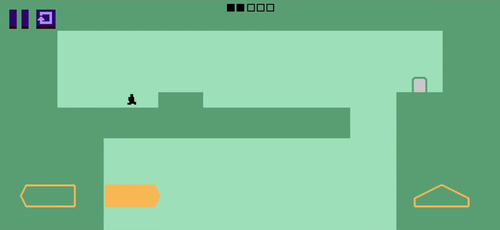
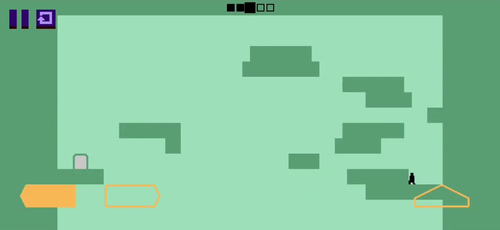
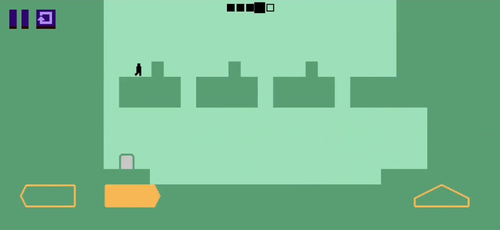
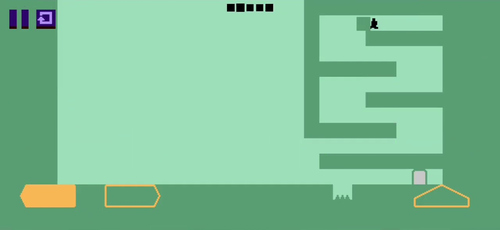
LEVELChapter 2 Level 3
5 STEP IMAGES+
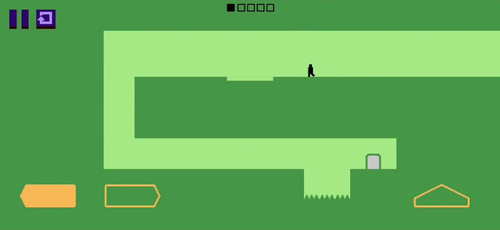
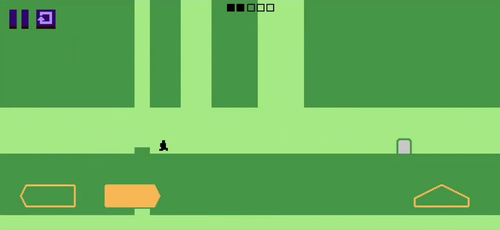
LEVELChapter 2 Level 4
5 STEP IMAGES+
LEVELChapter 2 Level 5
5 STEP IMAGES+
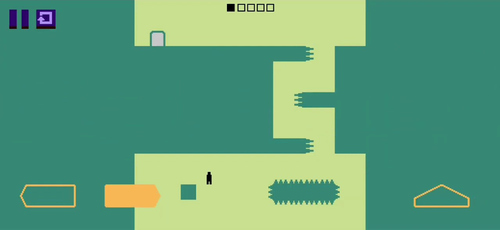
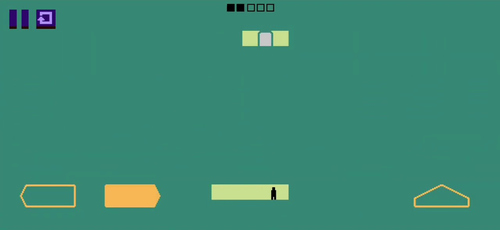
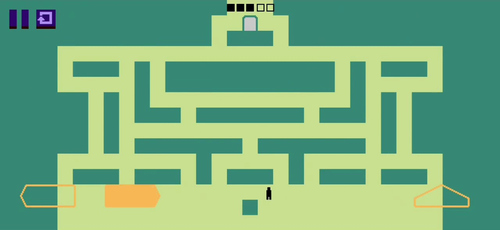
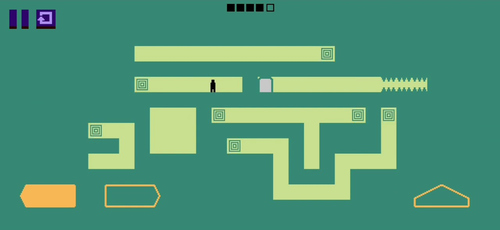
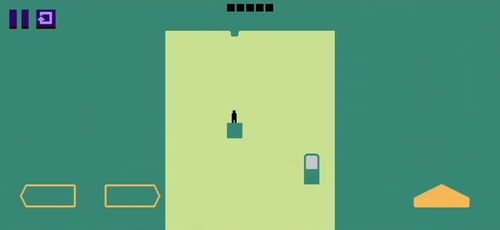
LEVELChapter 2 Level 6
5 STEP IMAGES+
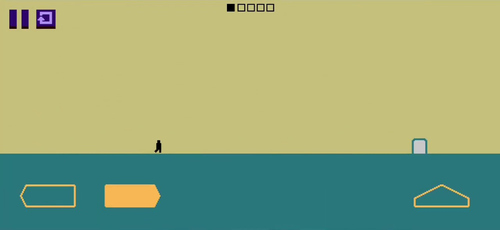
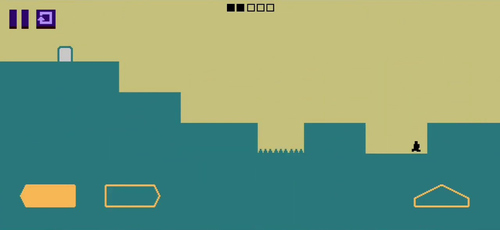
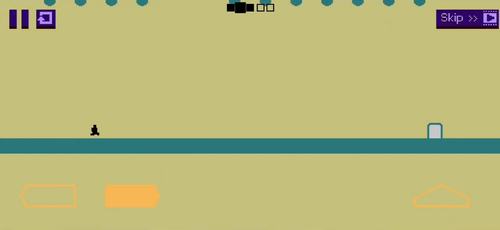
LEVELChapter 2 Level 7
5 STEP IMAGES+
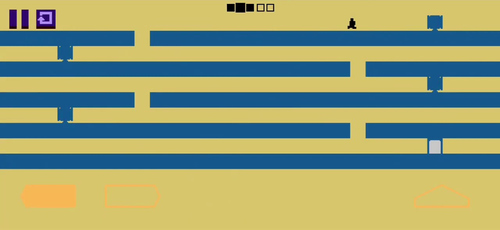
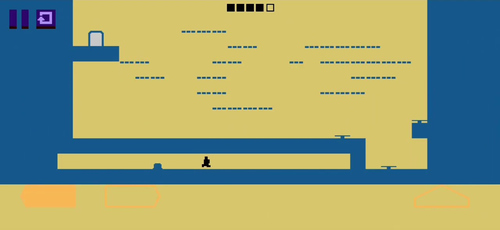
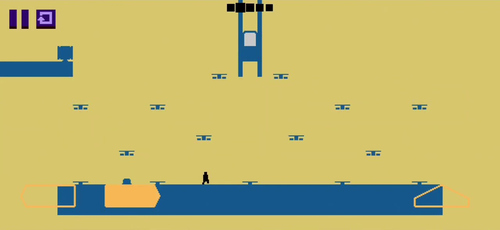
LEVELChapter 2 Level 8
5 STEP IMAGES+
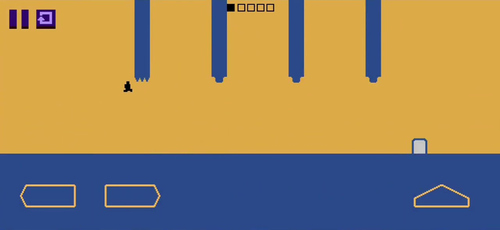
LEVELChapter 2 Level 9
5 STEP IMAGES+
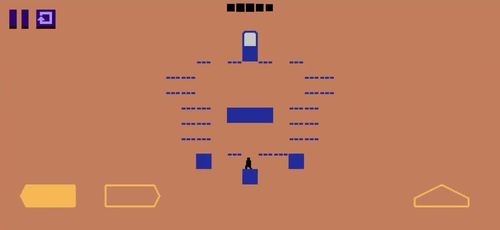
LEVELChapter 2 Level 10
5 STEP IMAGES+
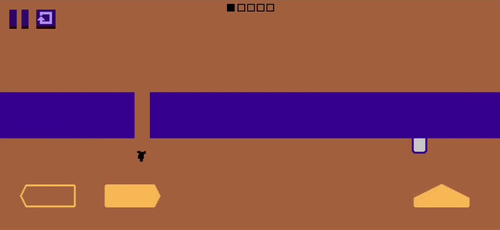
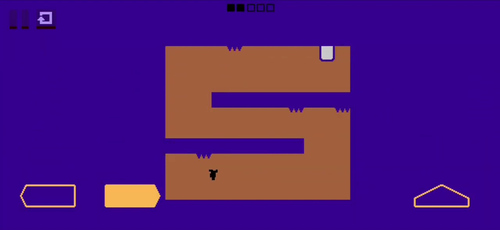
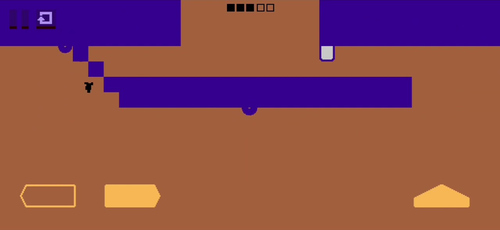
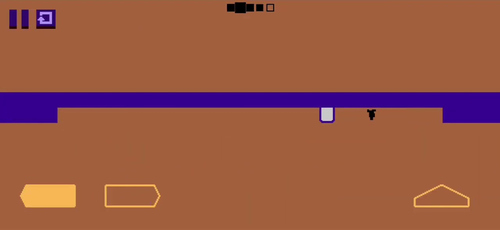
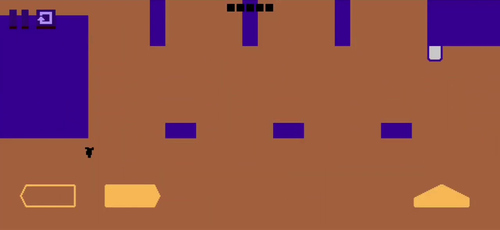
LEVELChapter 2 Level 11
5 STEP IMAGES+
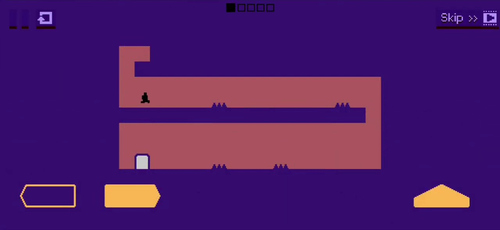
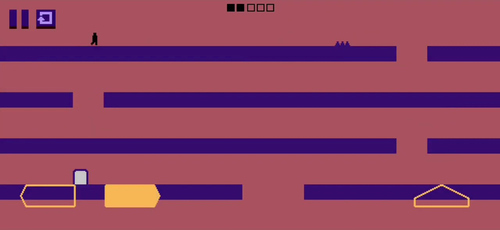
LEVELChapter 2 Level 12
5 STEP IMAGES+
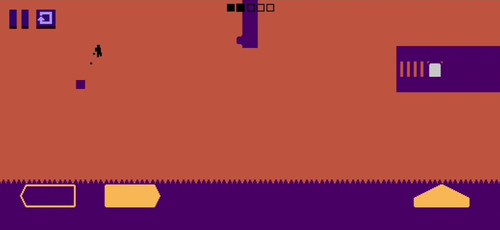
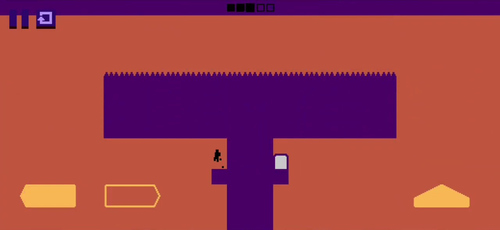
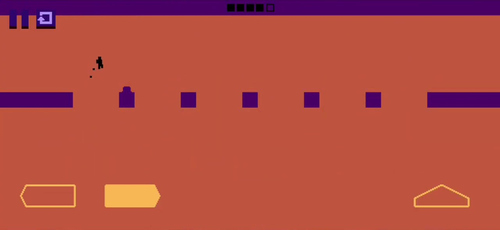
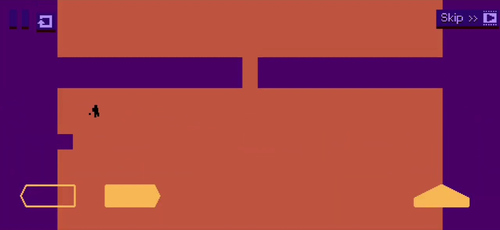
LEVELChapter 2 Level 13
5 STEP IMAGES+
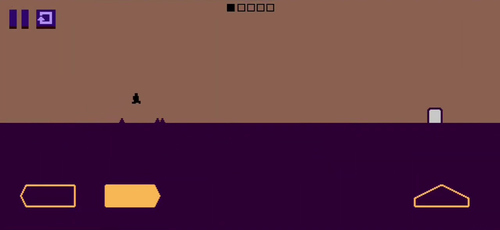
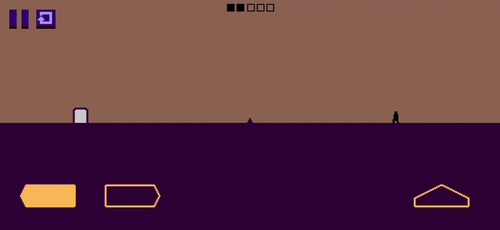
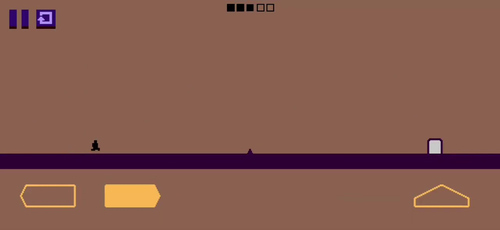
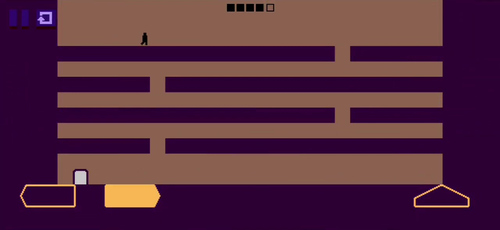
LEVELChapter 2 Level 14
1 STEP IMAGES+
Level Devil Chapter 3 Walkthrough
The final chapter combines moving terrain with multiple spike patterns. Read each sequence from left to right and note where the character waits before making the next move.
LEVELChapter 3 Level 1
5 STEP IMAGES+
LEVELChapter 3 Level 2
5 STEP IMAGES+
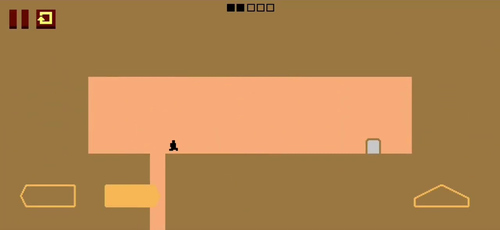
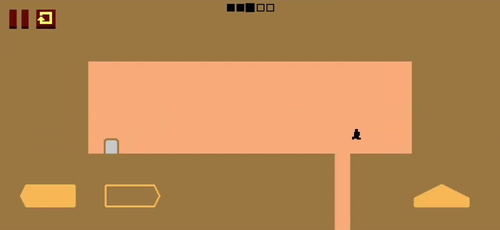
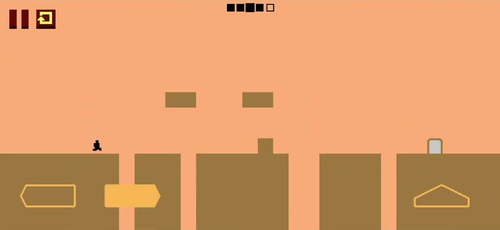
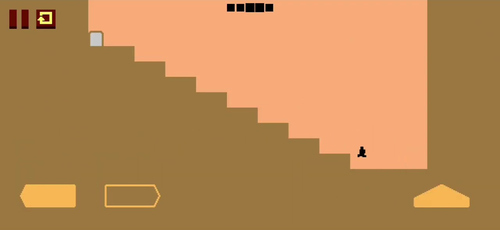
LEVELChapter 3 Level 3
5 STEP IMAGES+
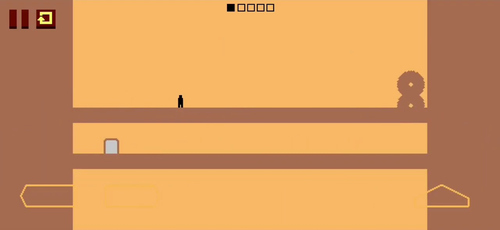
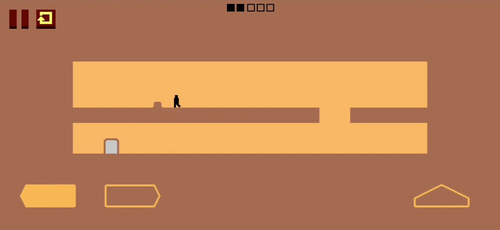
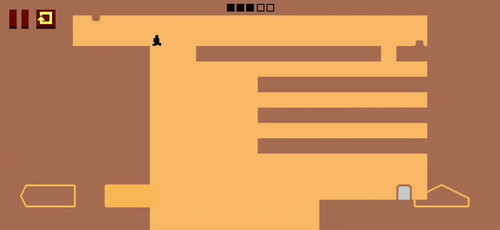
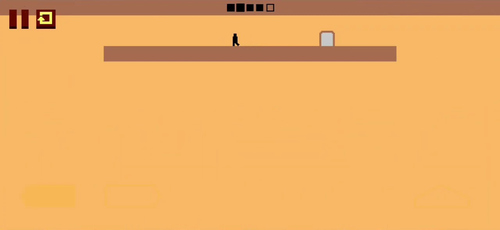
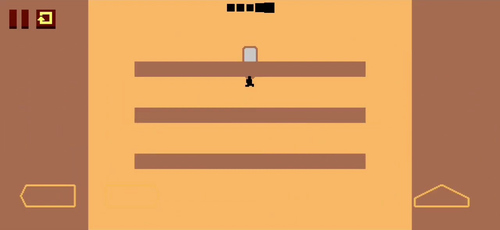
LEVELChapter 3 Level 4
5 STEP IMAGES+
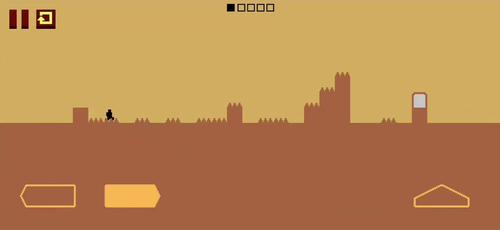
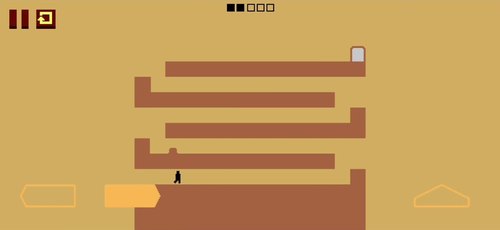
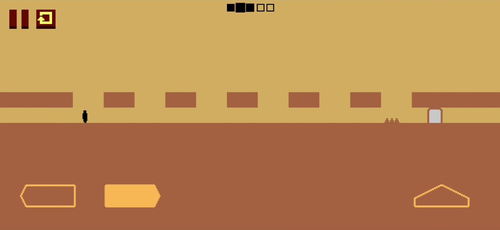
LEVELChapter 3 Level 5
5 STEP IMAGES+
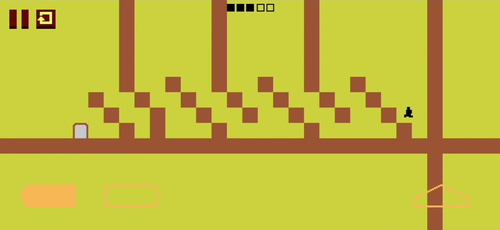
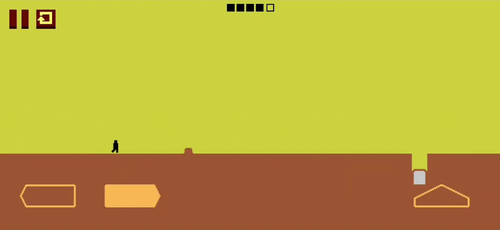
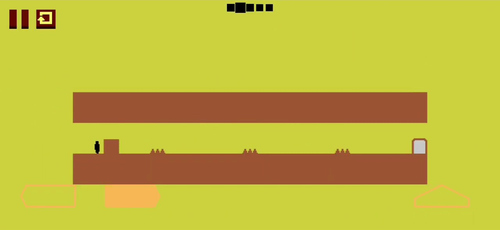
LEVELChapter 3 Level 6
5 STEP IMAGES+
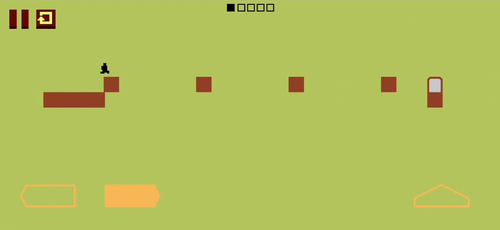
LEVELChapter 3 Level 7
5 STEP IMAGES+
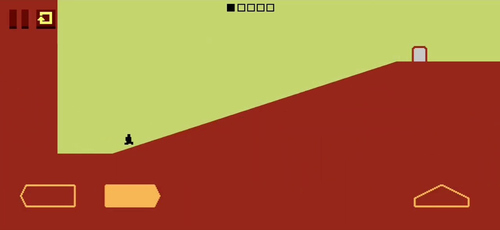
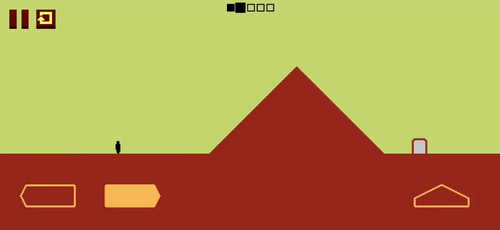
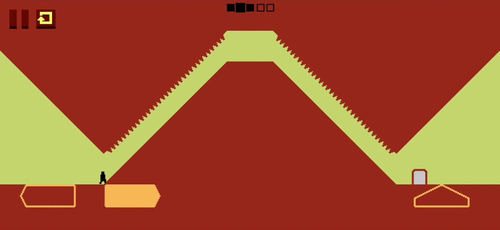
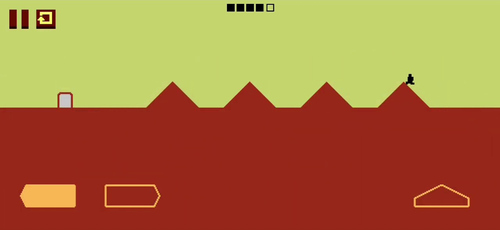
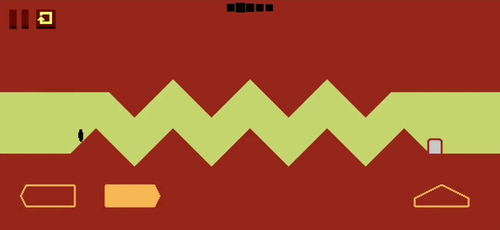
LEVELChapter 3 Level 8
1 STEP IMAGES+
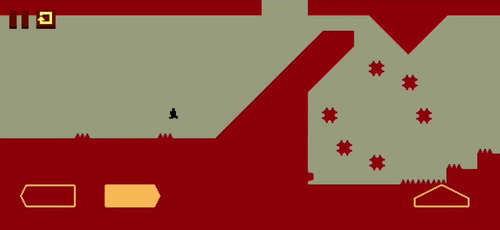
Level Devil Key Locations
Use the surrounding platforms and obstacles in each image to identify the correct room. Approach carefully—the route to a key can still contain hidden spikes or moving ground.
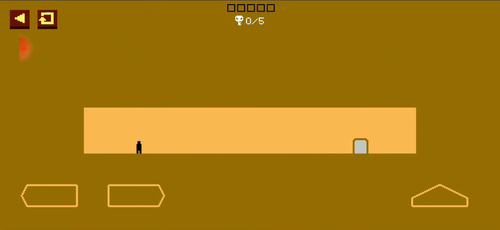
Key 1 Location
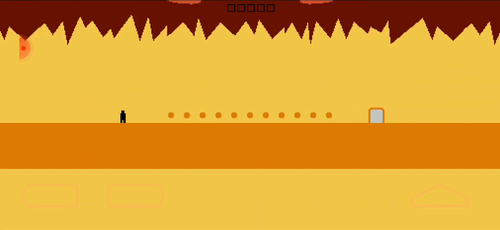
Key 2 Location
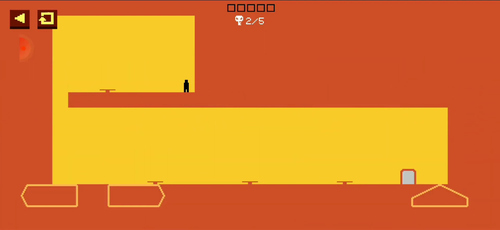
Key 3 Location
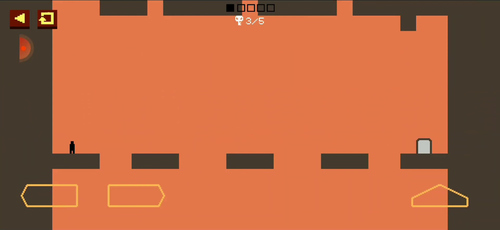
Key 4 Location
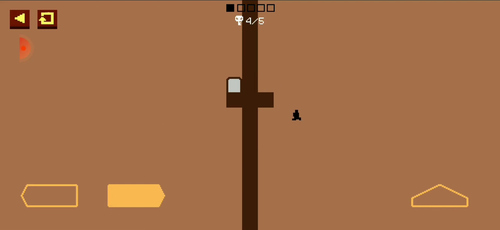
Key 5 Location
What to Do When You Are Stuck
Replay only the level you need
Keep the relevant level panel open and match your in-game position to the floor, walls and exit shown in the first image.
Follow the images in order
Each numbered screenshot is the next point in the route. Do not skip ahead if the terrain in your game does not yet match the image.
Check the space above the landing
A safe-looking platform can sit below a falling ceiling. Compare both the floor and the upper half of the screenshot before jumping.
Trigger the trap and return
When a spike or moving block appears after you approach it, retreat to the last safe position and wait for the animation to finish.
Use shorter inputs
If your character passes the position shown in the image, tap the movement key instead of holding it.
Slow down near the exit
The final image often matters most. Stop before the door and check whether the floor, ceiling or exit itself changes.
Level Devil Walkthrough FAQ
01Does this Level Devil walkthrough cover every chapter?+
It includes the existing Chapter 1, Chapter 2 and Chapter 3 routes from the current embedded game, with the complete set of available step images.
02How should I use the walkthrough images?+
Open the level where you are stuck and compare the images in numerical order. Match the floor layout and character position before copying the next move.
03Where are the hidden keys in Level Devil?+
The Key Locations section contains one reference image for each of the five keys and shows the surrounding terrain needed to identify the location.
04What if the controls do not match the screenshots?+
Use the controls shown inside the game first, then check the Level Devil controls page for keyboard, mobile and input troubleshooting help.
Related Level Devil Help
The Level Devil strategy guide explains trap patterns that apply across the game, while the Level Devil controls page helps when movement or jumping does not respond.
Looking for another challenge? You can also play Level Devil 2 and try another trap-filled platforming experience.